At its core, supply and demand trading operates under a basic economic principle: prices are driven by the supply (selling pressure) and demand (buying pressure) in the market.
But as a trader, the secret sauce lies in understanding how this principle translates into actionable trading decisions.
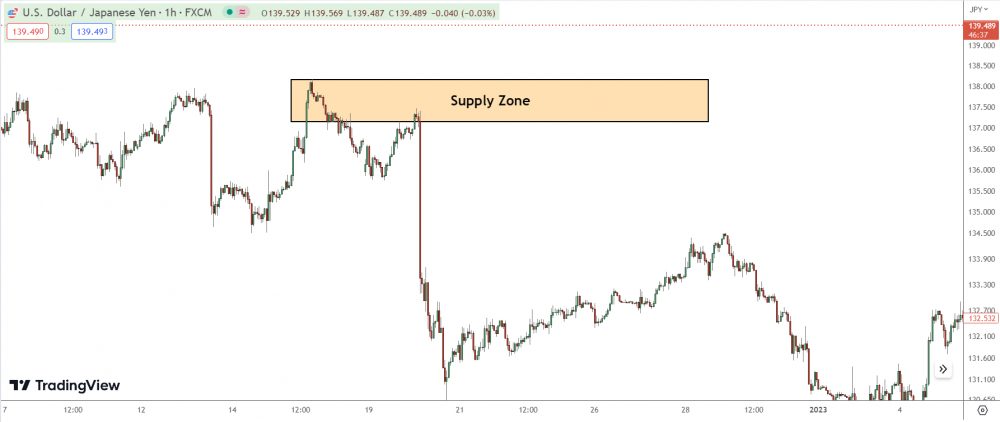
First off, you’ve got ‘Supply Zones‘.

These are price ranges where sellers outnumber buyers, causing price to drop. When price revisits a supply zone, there’s a good chance it’ll fall again due to excess supply.
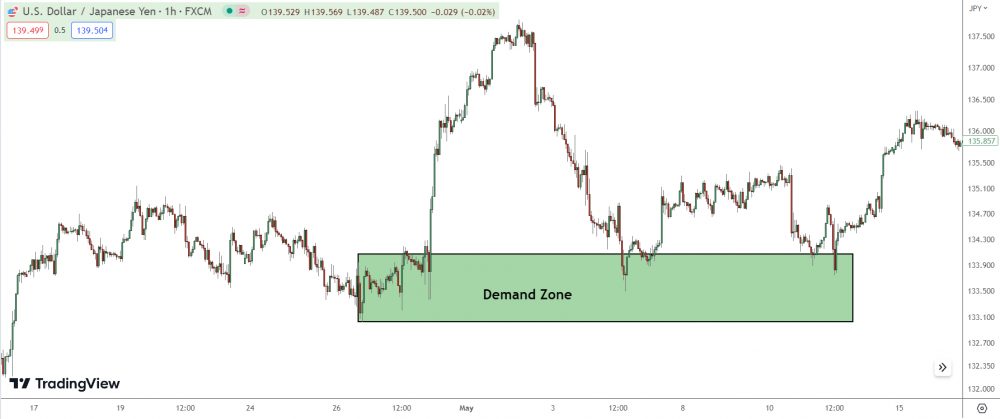
On the flip side, we have ‘Demand Zones‘.

These are ranges where buyers outnumber sellers, causing price to shoot up. If price comes back to a demand zone, expect an uptick as demand outstrips supply.
Now, here’s the twist…
Not all supply and demand zones are created equal.
Some are ‘Fresh Zones’ – zones price hasn’t returned to since their creation.
Fresh zones are highly valuable because they often have an abundance of unfilled orders, leading to stronger reactions.
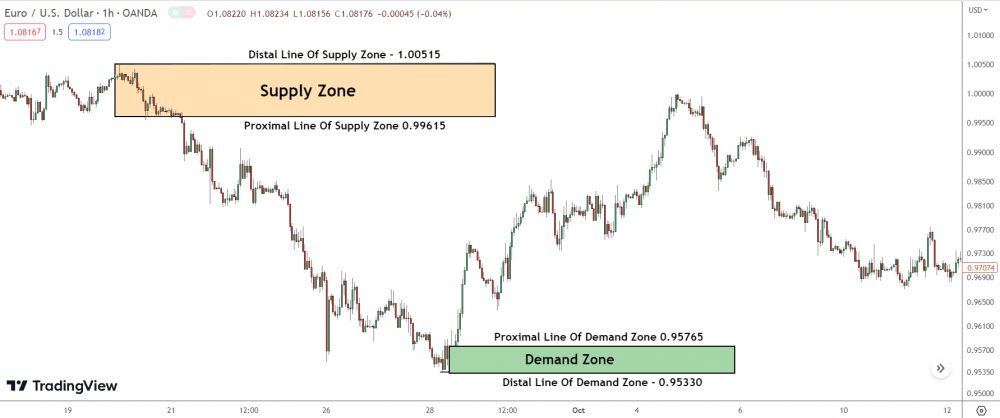
And let’s not forget ‘Proximal and Distal Lines’.

The proximal line marks the beginning of the zone (where price turned around), and the distal line marks the end of the zone (the last point before price changed direction).
These lines define your zones and can be your guide to potential entry and exit points.
Supply and demand trading is all about observing, understanding, and anticipating market reactions at these key zones zones.